Tuesday, November 12, 2013

Bunny Portraits!!


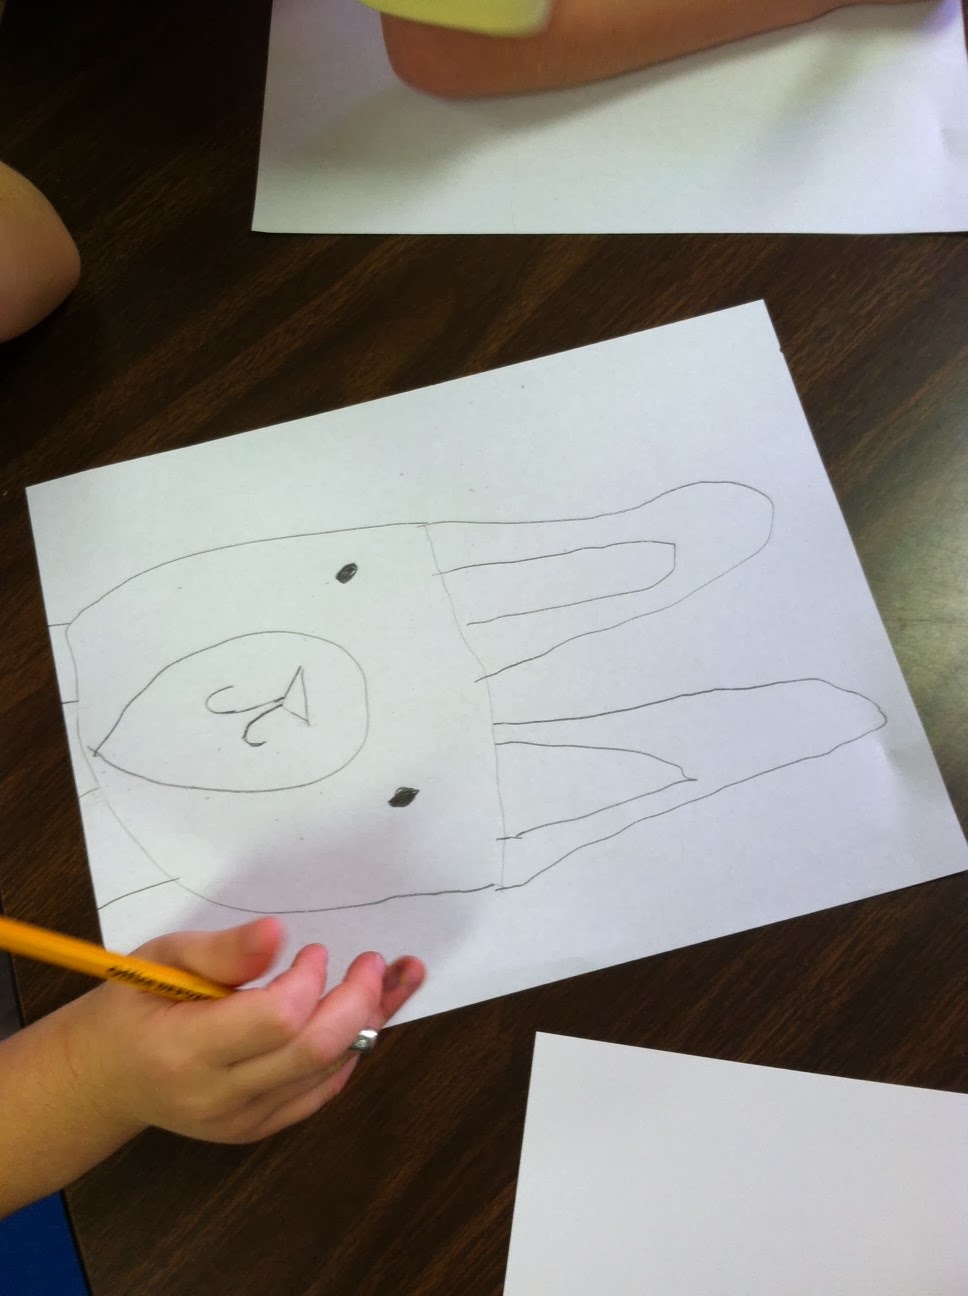
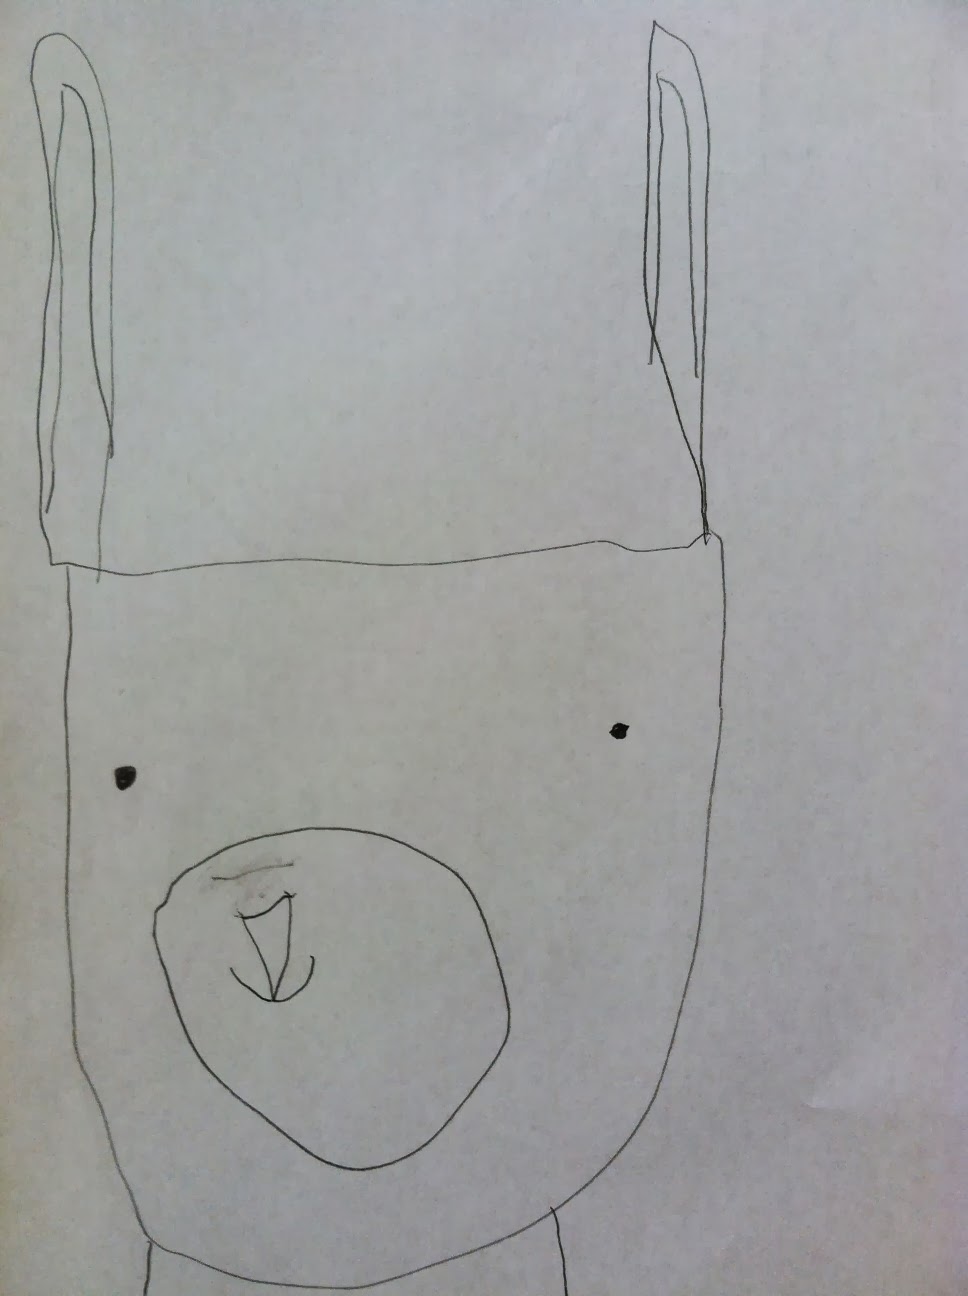
I'm a sucker for Animal Portraits of any kind! It had been a while since we'd done them at the studio, so this week we painted Bunny Portraits. I did these with my 4-6 year olds, but would work for slightly older ages as well!


Materials:


Bunny Sample Drawing
Practice Paper
Pencils
Bristol Paper
Black Crayon
Brown, Cream, Red, and Black Acrylic Paint
Paint Brushes
Glue
Scissors
Scrap fabric or other embellishments


Step One:

Bunny Practice Drawing!
I started out by explaining that placement is very important while drawing bunnies since it's necessary to leave room for the ears. With this in mind we drew a large U shape on our page, leaving room at the top. Next we closed in the U shape and added long ears, then the face and neck.


Step Two:

Time to Paint!
Once we finished our practice drawings, we redrew our Bunnies on Bristol paper and outlined with black crayon. Next we painted the outside of the ears, face, and neck with brown paint. The inside of the ears and circle with nose and mouth are painted with a cream color and background with red. *Outlining the bunny head with paint, then filling in the background is a good way to avoid having little ones paint on their bunnies!


Step Three:

Outline!
Lastly, we took a small brush and outlined our bunnies and their faces with black paint. Add any embellishments or fabric to finish the portraits!!


Monday, September 30, 2013

Meet Abigail Kokai!

Interview with Abigail Kokai!


Scribble Art Studio's ultra talented sewing and fibers instructor! Abigail is one of those people who gets 27 hours out of a 24 hour day. Whether she is teaching a workshop of 20 or working one on one, Abigail shows a huge amount of patience, energy, and excitement!


Where are you from originally?
The small town of Clyde, Ohio.


What kind of art do you make?
Quilts that tell stories.


How would you describe your art? your process?

Quilts are domestic objects that preserve a record of time and place. I keep sketches and write stories of memorable day-to-day experiences, be it mundane or remarkable. My sketchbook reads more like a simplified graphic novel, full of text and drawings. Occasionally, a moment will invite particular colors and patterns that I abstract to create a geometric quilt pattern. Then I figure out how to insert the text and line drawing into the quilt surface.  When the quilt is done, it is layered  with fabric and meaning...and purpose as a functional item.


Why do you like to work with kids?
Kids are little people that are always excited about learning new things. Art is such an abstract subject, it allows one to learn so much about the world and in so many different ways. Making art lets them explore the most essential of all life skills: creative problem solving. And sewing with kids gives them a hands-on awareness of 'how things are made'. That is such a fundamental concept, yet often overlooked. And when a child has finished an art project that you know they really had to think about and figure out, the joy in their expression is palpable. 
That, and it's just really fun to be creative and make things.


What inspires your art? Your life?
Social interaction and the obscurities about people. It's kind of difficult to look at a squirrel and think, "Hmm, that is one very bizarre squirrel." But pass a few people walking down the street, and chances are you'll recall at least two that kind of stick out in your mind. Perhaps it was a cologne you noticed from someone, or the outdated fanny pack around someone's bulging waistline. Those are the things that make people obscure creatures. And those are the things that become the memorable day-to-day experiences.


Who are some of your a
rtistic influences?
Graphic novelists: Craig Thompson, David B., Andi Watson
Artists: Jacob Lawrence, Trent Doyle Hancock, Aminah Robinson, Nick Cave


If you could meet any artist from history alive or dead who would you want to meet and why?

Benjamin Franklin. Talk about a creative problem solver!

If you could own any piece of art from history or modern day to look at every day what would you want to have?
Any small piece of early Inuit animal carving. Preferably of some ocean mammal. Or just lots of small pieces of early Inuit animal carvings. 


Saturday, August 31, 2013

What Fun We Had!


Summer is almost over and that means fall is right around the corner! We hope your summer was as wonderful and productive as ours. As usual, lots of fantastic artwork was created in the studio over the last few months. Here are some highlights, including work from our Summer Art Show "Imagine Me" Self Portraits with a twist!


Wednesday, August 14, 2013

Little Lightening Bug!


Here's a fun project we did in camp this summer! Our theme was "A Bug's Life", so the week was filled with adorable bugs, flowers, and insects! We did this project with our younger age camp (ages 4-7).


Materials:

Lightening Bug Drawing Sheet
Pencil
Practice Paper
Bristol Paper
Cardstock (you can find cardstock at any Office Supply Store, it's thicker than computer paper but thinner than Bristol, and cheaper. It holds wet medium decently)
Watered down Black Acrylic Paint or Black Ink
Watered down Yellow Acrylic Paint
Brushes
White Oil Pastel
Assorted Color Oil Pastels
White Acrylic Paint
Piece of sponge
Scissors
Glue
Glitter


Step 1

Practice drawing Lightening Bug! Although a relatively simple drawing composed mainly of shapes, it helps with spatial planning . If not mindful, it's easy to forget to leave space for all the elements.


Step 2

Draw stars or swirls onto Bristol with white Oil Pastel, then paint with watered down black acrylic or ink. Place to the side to dry or use hairdryer for faster drying time.


Step 3

Draw Lightening Bug onto cardstock making sure to fill up the page (no tiny bugs!). Outline with assorted color Oil Pastels and paint with watered down yellow acrylic.


Step 4

Sponge paint white acrylic paint onto black background, either in a large oval or lots of little spots. Next cut out Lightening Bug and glue onto background. Finish by drawing in glue on top of Lightening Bug and adding glitter!