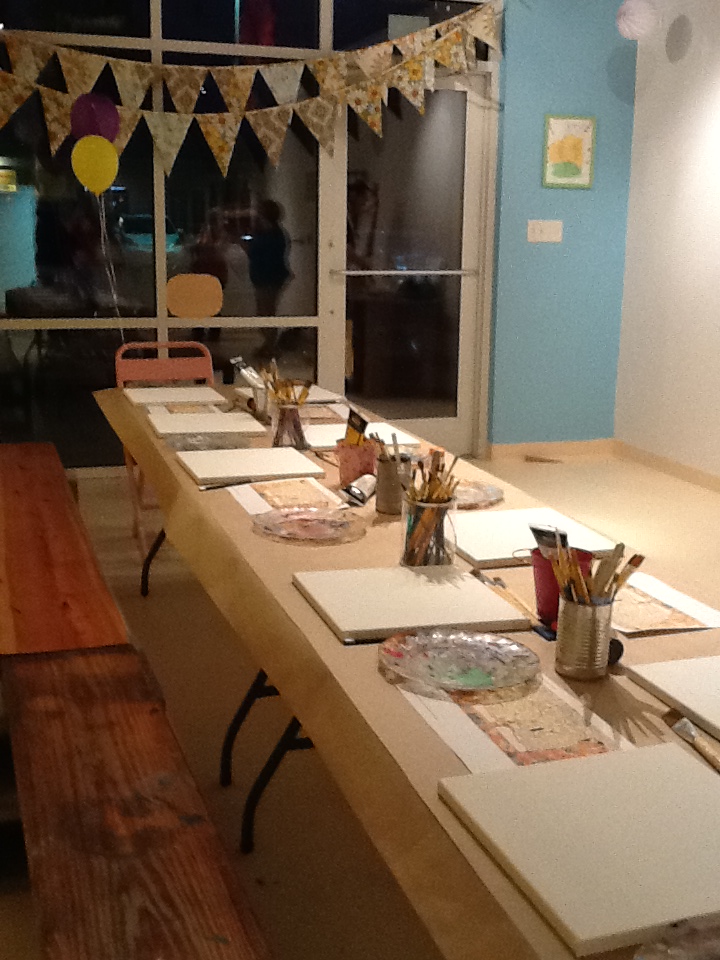
Storybook Art at Live Oaks Public Library!
Storybook illustrations provide lots of inspiration for art teachers. There are so many different syles and mediums to look at! Tues. Oct. 2 we will begin our twice monthly free art classes at Southwest Live Oaks Public Library. In case you wanted to try out our Wild Things lesson at home here's a breakdowm of the lesson!
Printout:

Materials You'll Need:
*Wild Thing Monster Print Out
[Click Here to download our drawing sheet!]
*Pencil
*Black (or similiar crayon)
*practice paper
*Bristol paper
*oil pastels
*watered down acyrlic or tempera paint
*glue
*fabric scraps, yarn, buttons, etc.
*Scissors
Step 1:
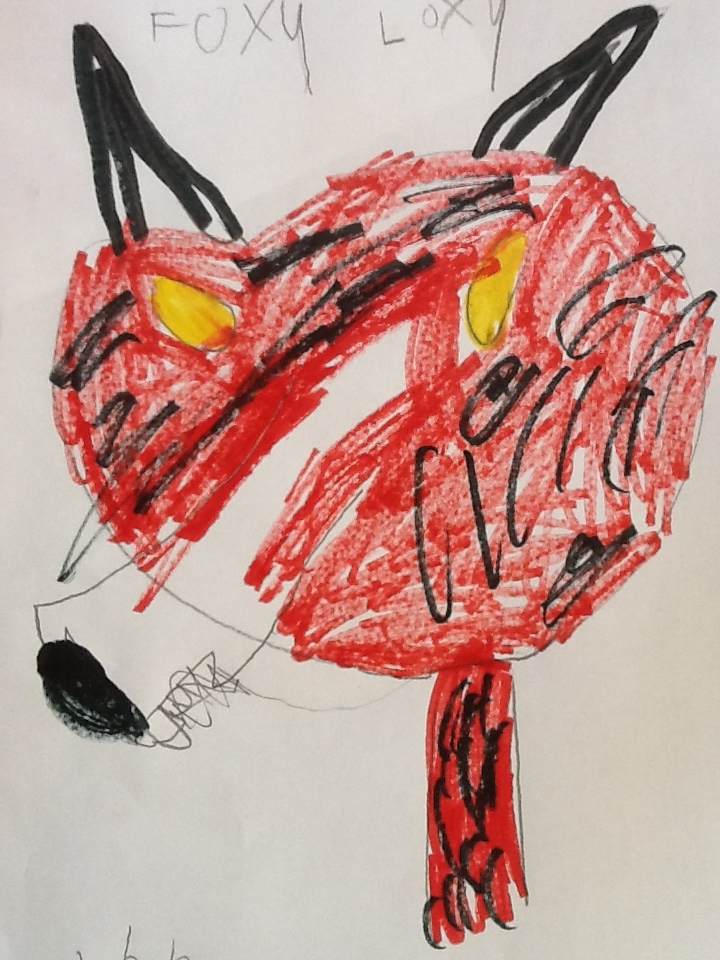
Practice drawing the simplified wild thing monster. It's best to start out with the basic head and body shape (feel free to provide connect the dot shapes as a starting point) and build from there, adding facial features, arms/legs, and claws! Emphasize the SHAPES that make up the body, this usually takes away some of the intimidation.
Step 2:
Once the practice drawing is complete, re-draw on Bristol paper. Next outline monster in different color oil pastels. Make sure to explain outlining is different than filling in.
Step 3:
After drawing is completley outlined, it's time to paint! I love watered down acrylic paint. It retains a bright color, covers easily, and is transparent enough to preserve a line drawing. A huge deal to art teachers who hate to see wonderful line work completley covered by thick paint.
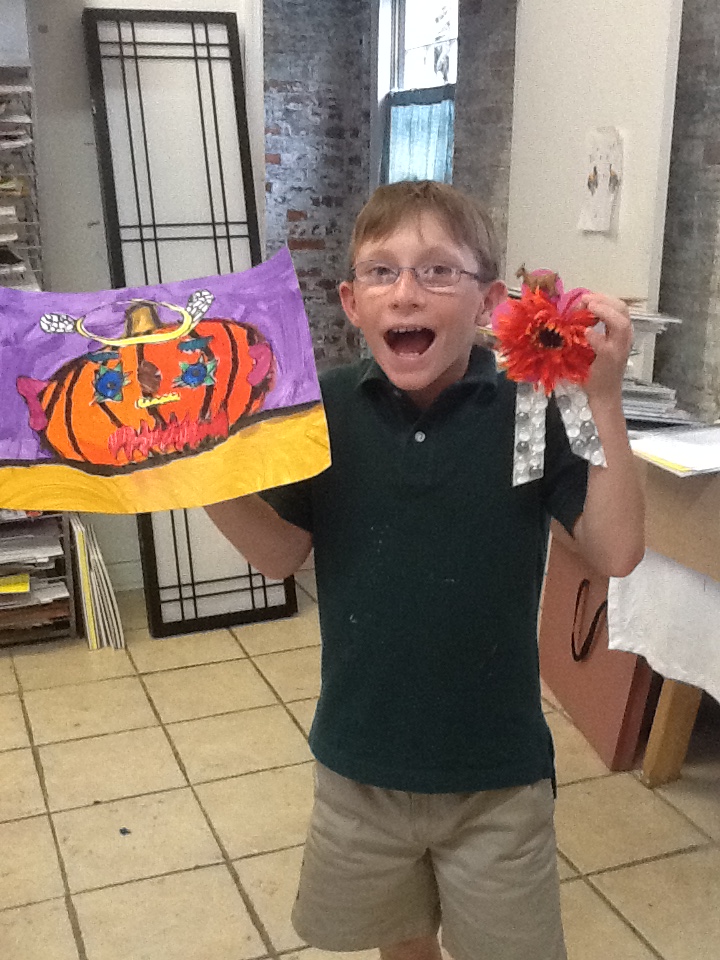
Step 4:
Decorate with fabric and embellishments!