Wednesday, August 14, 2013

Little Lightening Bug!


Here's a fun project we did in camp this summer! Our theme was "A Bug's Life", so the week was filled with adorable bugs, flowers, and insects! We did this project with our younger age camp (ages 4-7).


Materials:

Lightening Bug Drawing Sheet
Pencil
Practice Paper
Bristol Paper
Cardstock (you can find cardstock at any Office Supply Store, it's thicker than computer paper but thinner than Bristol, and cheaper. It holds wet medium decently)
Watered down Black Acrylic Paint or Black Ink
Watered down Yellow Acrylic Paint
Brushes
White Oil Pastel
Assorted Color Oil Pastels
White Acrylic Paint
Piece of sponge
Scissors
Glue
Glitter


Step 1

Practice drawing Lightening Bug! Although a relatively simple drawing composed mainly of shapes, it helps with spatial planning . If not mindful, it's easy to forget to leave space for all the elements.


Step 2

Draw stars or swirls onto Bristol with white Oil Pastel, then paint with watered down black acrylic or ink. Place to the side to dry or use hairdryer for faster drying time.


Step 3

Draw Lightening Bug onto cardstock making sure to fill up the page (no tiny bugs!). Outline with assorted color Oil Pastels and paint with watered down yellow acrylic.


Step 4

Sponge paint white acrylic paint onto black background, either in a large oval or lots of little spots. Next cut out Lightening Bug and glue onto background. Finish by drawing in glue on top of Lightening Bug and adding glitter!


Monday, June 17, 2013

Mural Mania!


Summer Camp started for us last week and we're already having a blast! We had a group of kids who worked extra well together so I decided it would be a perfect time to do a mural. I love murals. I love their sense of community and collaboration, not to mention the encouragement offered to each other while discussing ideas. As anticipated, the kids did a wonderful job and everyone (including me) had a great time!


Materials:

Large Sheet of paper or tag board
*I prefer tag board, which is thicker. You can find it at certain art stores by the yard. Mural paper or any really large piece of paper will work OK though, even with wet media.
Assortment of paints
Brushes
Markers
Scrap Paper
Scissors
Glue
Scrap Fabric

Step 1

Decide on a mural theme, either beforehand or as a group. Occasionally it's fun to have kids just go at it BUT if there are going to be arguments this is when they can occur. You can keep it loose, something as simple as landscape or farm, or more specific. Either way, I find going in with an idea works best. (Our theme was the countryside, I drew out a rough quideline for painting shapes)

Step 2

Set up paper. Whether using the floor or a tabletop, make sure your paper is secure and can handle a little rough handling. (We worked on a tabletop)


Step 3

Start painting. Work from the inside out to ensure the whole surface can be reached. I try not to have too many rules once the painting starts, just encourage lots of color and pattern.


Step 4

Add fun elements. Once the mural is all painted you can add houses, people, animals, hot air balloons, etc. with markers, scrap paper, fabric or anything you like!


Wednesday, May 22, 2013

Spring In Review!


Spring Classes are ending this week and we're gearing up for summer. It's bittersweet as we won't see some of our students back until fall, but have loved and enjoyed our time together. As always, we've been blown away by the beautiful and imaginative work created at the studio. Here's a little review of this Spring's favorite projects! (Please feel free to email me for any instructions on the following lessons, info@thescribbleartstudio.com)


Beautiful Jellyfish


Princess Self Portrait


Get Em Batman


Gnomes in the Garden


Expressive Portraits


Mama and Baby Giraffe


Frida Portrait


Sea Creatures in the Window


 Circus Collage

Wednesday, May 8, 2013

Messy Teddys!


This is a fun project to do with younger kids. It's mainly a painting project with a funny twist at the end! I did this project with my Mommy and Me and Folk Art class (ages 3-6).


Materials,

Practice Paper

Pencils

Bristol Paper

Black Crayon

White, Light Blue, Yellow, Black, Pink and Black Acrylic Paint

Brushes

Pink and Brown Construction Paper

Scissors

Glue

Buttons

Fabric for dressing bear (optional)


Step One

Practice Drawing Your Teddy!

Practice drawing a teddy bear made out of circles. Circle for the head, circle for the body, and circles to make up the face, ears, paws, legs and tail. The simpler the better!


Step Two

Paint Your Teddy!

Draw teddy bear on Bristol paper and outline in black crayon. Next paint the bear a light blue and the background yellow. Make sure your teddy is dry (use a hair dryer if necessary) and paint a large white circle on the face and little white circles in the paws, ears, tail, and legs. Using black paint, put a nose in the white circle on the face and outline your bear, pulling out the shapes if they got lost during the painting process. Add buttons for eyes.


Step Three

Treat Your Teddy to Ice Cream!

Draw a circle on pink construction paper and a triangle on brown construction paper. Cut out and glue the pink circle on top of the brown triangle in your teddy's hand, creating an ice cream cone.


Step Four

Get Your Teddy Messy!

Now for the fun part! Get your teddy messy by using the pink paint to create drips and splatters, the messier the better!


Wednesday, May 1, 2013

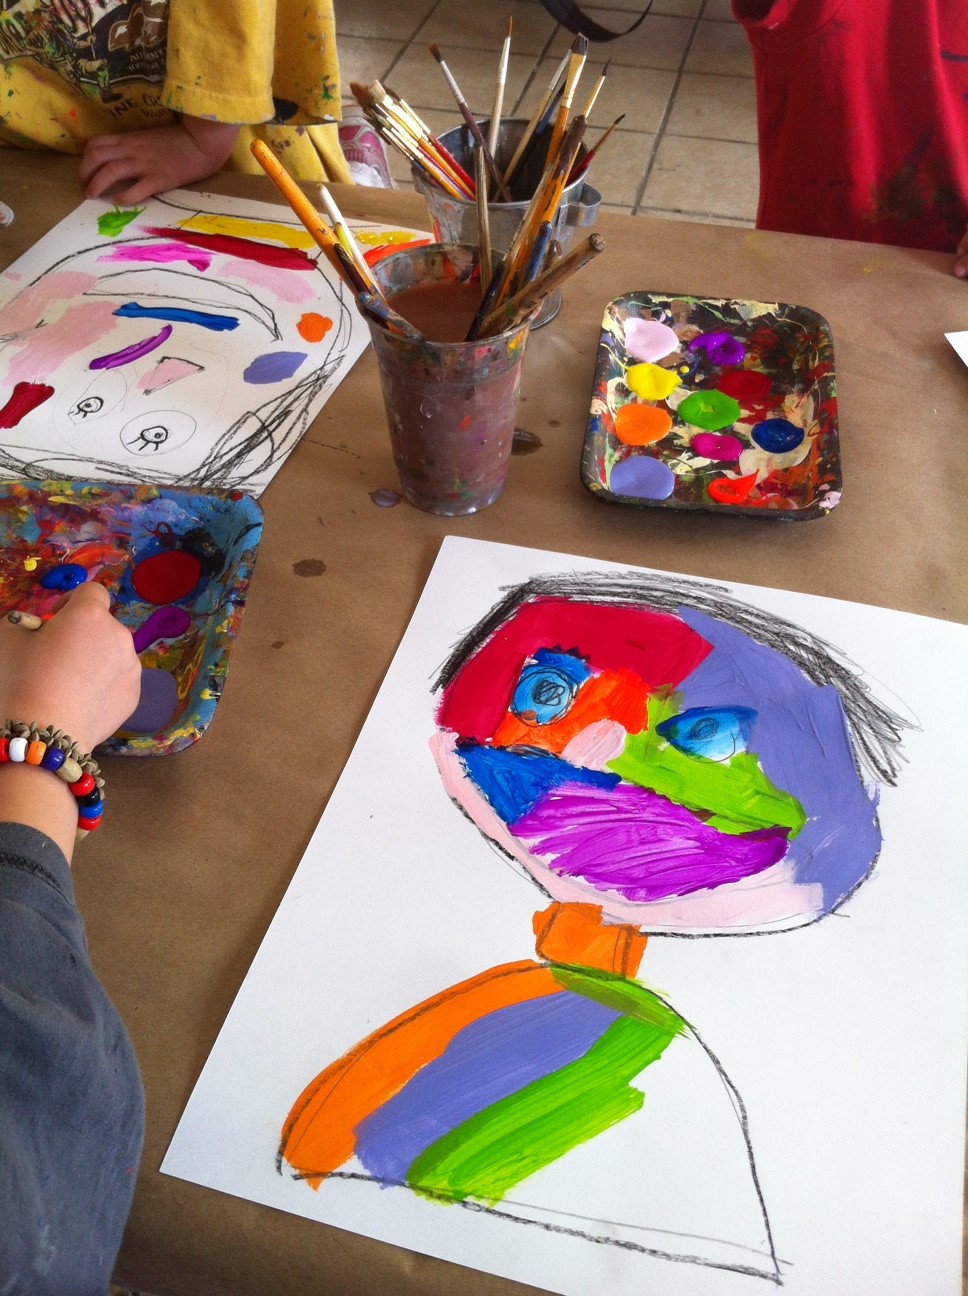
Expressive Self Portraits!


I love expressive painting! Sadly, as an artist I wasn't exposed to expressive painters until I was in college. As a result I try to teach as many expressive projects as I can!


This week I did Expressive Self Portraits with some of my younger and older students. I like this project because unlike most projects we do, there aren't a lot of guidelines. You just draw your face and paint. The only guideline I gave was to keep your colors fresh and try to avoid over mixing. Enjoy!


Materials:

Practice Paper
Pencil
Little or Handheld Mirror (optional)
Bristol Paper
Black Crayon
Various color Acrylic Paints
Brushes

Step 1

Start by drawing your face. I went over simple facial features and placement with my younger students. I had my older students look into a mirror while practice drawing their faces.


Step 2

Draw your head and shoulders on Bristol Paper, making sure to take up most of the page. Outline in black crayon. Paint using a variety of bright colors. I left traditional colors (peach, brown, and cream) off the palette.