Thursday, November 15, 2012

New Project for Little Ones!


Here's a easy, fun project designed for young children! I did this project with two of my younger classes last week (ages 3-5) and loved the results! It's easily modified for older students as well!


 I used illustrations from Elmer the Patchwork Elephant by David McKee as inspiration. Elmer is the story of a colorful elephant celebrated for being different!


Materials:


*Elmer drawing sheet print out

*Bristol Paper

*Practice Paper (for older students who will draw their own Elmer)

*Pencil

*Oil Pastels

*Watered down Acrylics

*Brushes

*Markers, Colored Pencils, or Crayons

*Scissors

*Glue

(This project can be done with only paper, Elmer print out, scissors, glue, and crayons/markers. Paint, Bristol, and Oil Pastels are not necessary, it's just how we did it at the studio!)


Step One:

Start by creating a background for Elmer. Draw lines from one end of Bristol paper to the other with different colored oil pastels. Next turn the paper and draw another set of lines from one end to the other. You should end up with a grid of squares. (make sure lines go all the way to the end of the paper for complete squares).

Paint squares with different colored acrylics. Encourage lots of different colors in different squares, colors will bleed into each other, that's OK!


Step Two:

While background is drying start coloring in your Elmer print out with markers, colored pencils, or crayons. Encourage stripes, patterns, or just lots of color. This part should be fun and left up to the artist! To modify for older students just have draw Elmer instead of using print out. Any type of paper will do!


Step Three:

Once Elmer is completed, cut out and glue onto background. Feel free to add jewels or sequences! Check out these cute Elmer's!


Wednesday, November 7, 2012

Savannah Children's Book Festival!


The Children's Book Festival is this Saturday Nov. 10th, 10am-4pm in Forsyth Park.We were blown away by the festival last year and are super excited to be included this year! Stop by our tent to say Hi and pick up a complimentary gift bag! We'd love to see you!


Our very talented student Lauren Shweiky won the poster contest! Her adorable artwork of a bird reading will be on display through out the festival.


In October we collaborated with Dick Blick and Live Oak Public Libraries to create a TWIGS Portrait Show. Some of our students were chosen to contribute to the new TWIGS coloring book.This Saturday drawing sheets featuring their TWIGS drawings will be available at the festival.Don't forget to pick some up!


Lastly, check out the wonderful Rocket artwork created in last month's free art class at Southwest Chatham Public Library. How Rocket Learned to Read by Tad Hills is just one of the fantastic books you'll find at the book festival!


Thursday, November 1, 2012

The Story of Henny Penny! Creating an Art Show!


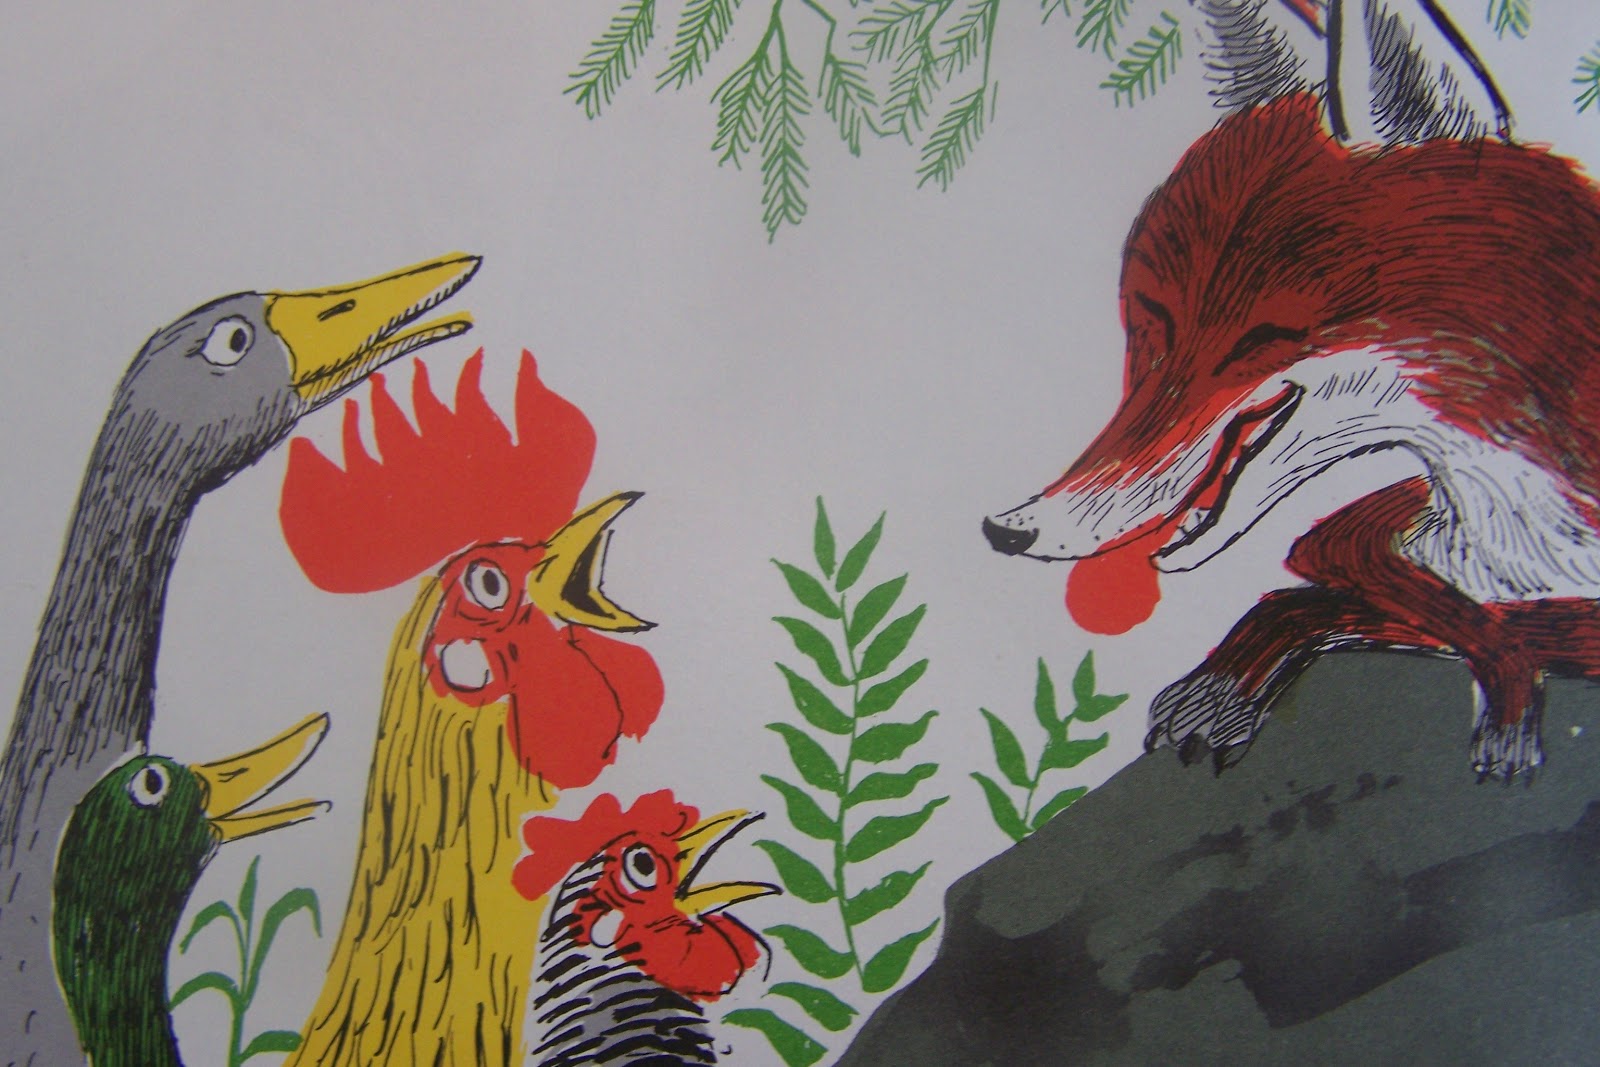
We are so excited for our upcoming art show, The Story of Henny Penny at Foxy Loxy Gallery & Cafe! This has been an especially fun show to put together! We used Paul Galdone's illustrations as inspiration!


Here's a look at some of the wonderful artwork that will be on display and the techniques we used!


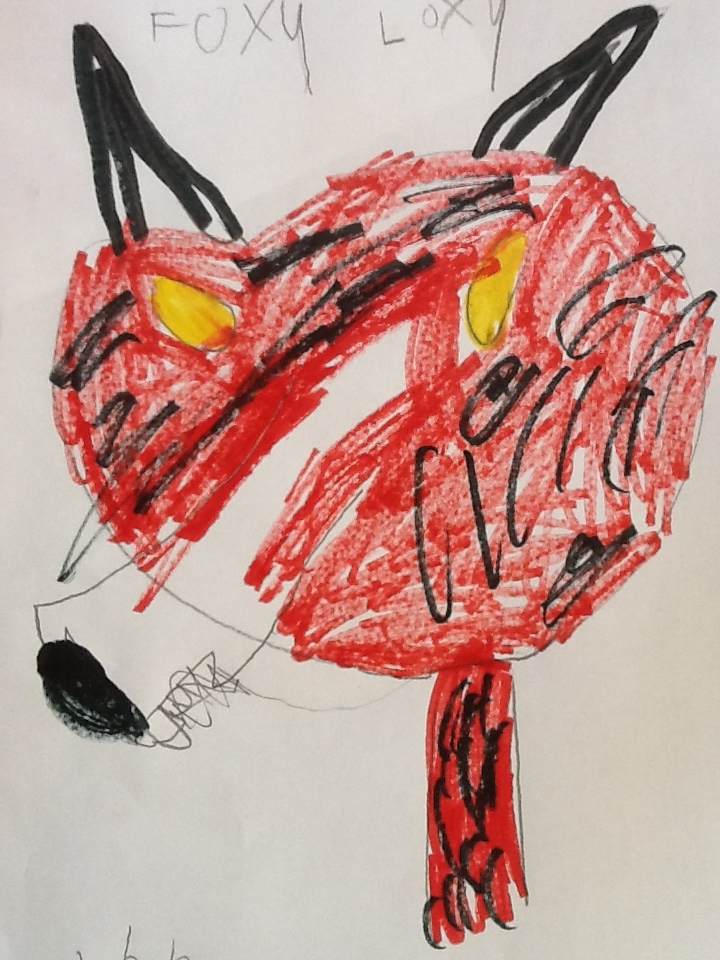
Foxy Loxy!

Students started off practicing drawing Foxy Loxy's devious face. Next we re-drew their faces on Bristol and started inking using red, yellow, grey and black ink! Students were encouraged to layer their colors, paying attention to how underlying colors affected top colors.*This was the first time a lot of students experienced working with ink/ink pens and most of them really enjoyed it!


Storybook Illustrations!

The illustrations were so wonderful, it provided a great opportunity for students to work on their drawing skills! Although they weren't the easiest illustrations to imitate, with a little work everyone yielded fantastic results. These illustrations were drawn on Illustration Board and rendered in watercolor, ink, and collage!


Goosey Loosey!

No show would complete without a chance to incorporate personal flair! Students drew Goosey Loosey in profile and painted them with a limited palette. Next students "dressed" their paintings! They couldn't be cuter!


Sunday, October 28, 2012

Week In Review!

This past week was a busy one with lots of fun projects, classes, and parties! Here's a quick review of everything we've been up to this past week!


Art Shows!

Students continue to put the finishing touches on their artwork for our upcoming Henny Penny Foxy Loxy Art show! Lots of excitement for the show and the s'mores to enjoy afterwards!


Free Art Classes at Live Oak Public Libraries!

Our project was inspired by Tad Hille's adorable character Rocket! Everyone drew and painted a Rocket of their own! *Tad Hille will be one of the authors featured at the Children Book Festival Nov. 10 in Forsyth Park


Cute Scarecrow project!

Everyone got super into designing their own farms, lots of details and proud artists!


Jack-o-lantern Contest and Awards Ceremony!

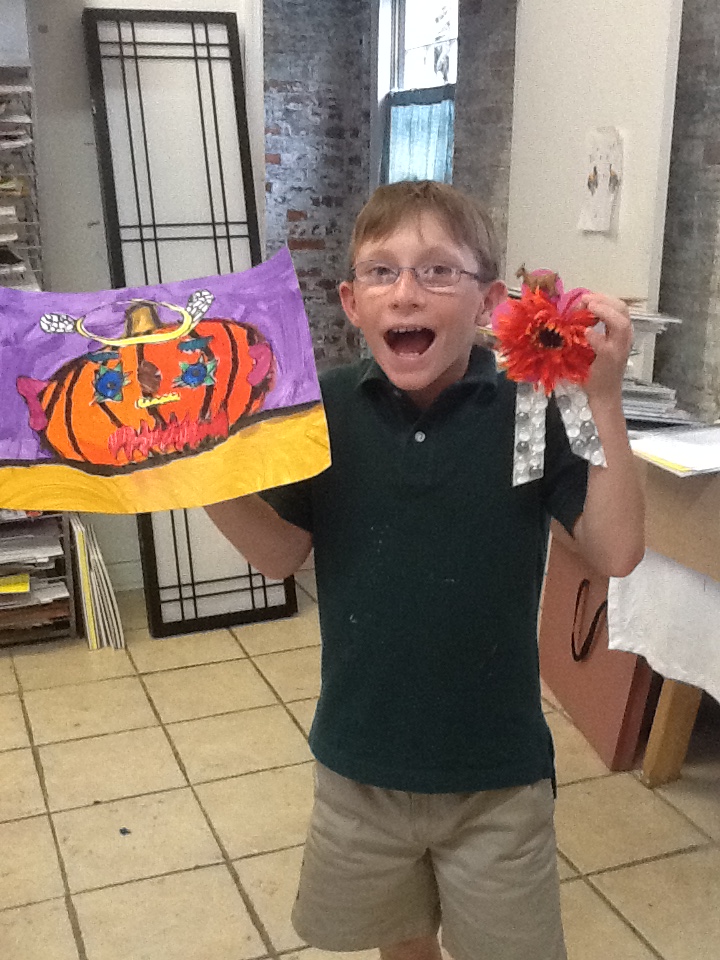
Students made funny/tacky/creative/weird/scary/child-like/craziest jack-o-lanterns using our potato head project. Next they collaborated on creating ribbons that we gave away in an awards ceremony!


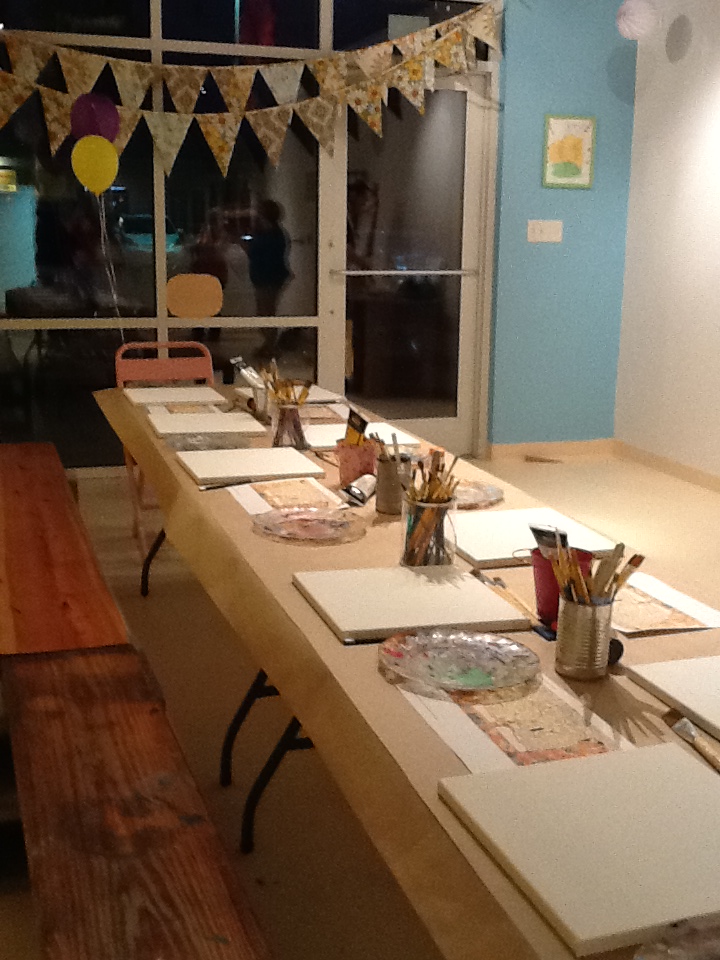
Our First Adult Painting Party in Pooler!

We held our first painting party in our new Pooler studio! It was a fun, creative night filled with laughter!


Thursday, October 18, 2012


Pumpkin Potato Heads!


Halloween is always a fun time of year for art teachers! Kids generally love to draw anything spooky and ghosts, spiders, witches, and pumpkins provide endless ideas! 

This summer we did a super fun funny face pig project. I was so pleased with the results that I modified it for a jack-o-lantern project. This project was done by my Wednesday Express Yourself class (ages 3-7). Enjoy!


Materials:
*computer paper for practice drawing
*Bristol paper
*Funny Faces Print Out (optional, kids can create their own funny faces if preferred)

*pencil
*black crayon
*orange, red, purple, brown, and black acrylic paint
*brushes
*markers
*glue
*scissors
*sequins/jewels/buttons (optional)


Step 1

We started out this project by practicing pumpkin shapes. Most kids know how to draw a pumpkin but if you want to get a little more accurate, start by making a large C and then a backwards C that connects. This will take the shape out of a perfect circle, next show how to curve the lines inside the pumpkin to mimic the C's. This demonstrates that the lines don't go straight up and down but curve with the pumpkin. After practicing, redraw on Bristol and outline in black crayon.


Step 2

Time to start painting! Begin painting on one side of the pumpkin with orange paint, making sure to paint between the crayon lines. At about half way through the pumpkin add a little bit of red to the palettes and had everyone mix in a little orange paint. This produces a nice orange red color, we used this to finish up the pumpkins. *Adding the red really helps "turn" the pumpkin.


Step 3

Paint the background with purple paint and the ground with brown paint. Use a little of the brown to paint the stem. Lastly go over the crayon lines with black paint, creating a nice outline.


Step 4

Funny Faces! Everyone practiced drawing from their funny faces print out (kids are encouraged to come up with their own funny features) and colored in their favorites with marker. Next we cut out eyes, nose, and mouth and glued onto the pumpkin. The finished pumpkins looked wonderful, everyone was proud their final artwork and enjoyed checking out their neighbor's pumpkins!